Support
Get up and running
01 — Getting Started
Camera opens the moment you launch
Arguox opens straight to the Camera Screen — there's no account, no sign-in, no setup screen in the way. The first time you capture, the shutter stays dimmed with a small loading spinner until GPS, address lookup, and device info finish gathering; the instant that first metadata snapshot is ready, the shutter goes solid so you can never capture a photo with blank metadata.
Grant location access when prompted to get GPS coordinates and a reverse-geocoded street address on your captures — Arguox still works without it, just without those two fields.
02 — Capturing Photos
Frame it, tap it, done
The viewfinder shows a rule-of-thirds grid; tap anywhere to focus. The ratio bar switches between Square (1:1), the sensor's native 4:3, and a 9:16 portrait crop (labelled 16:9, matching how phone cameras usually mark it) — whichever you pick, what you frame is exactly what gets saved. Flip between front and back camera and toggle flash from the same bar.
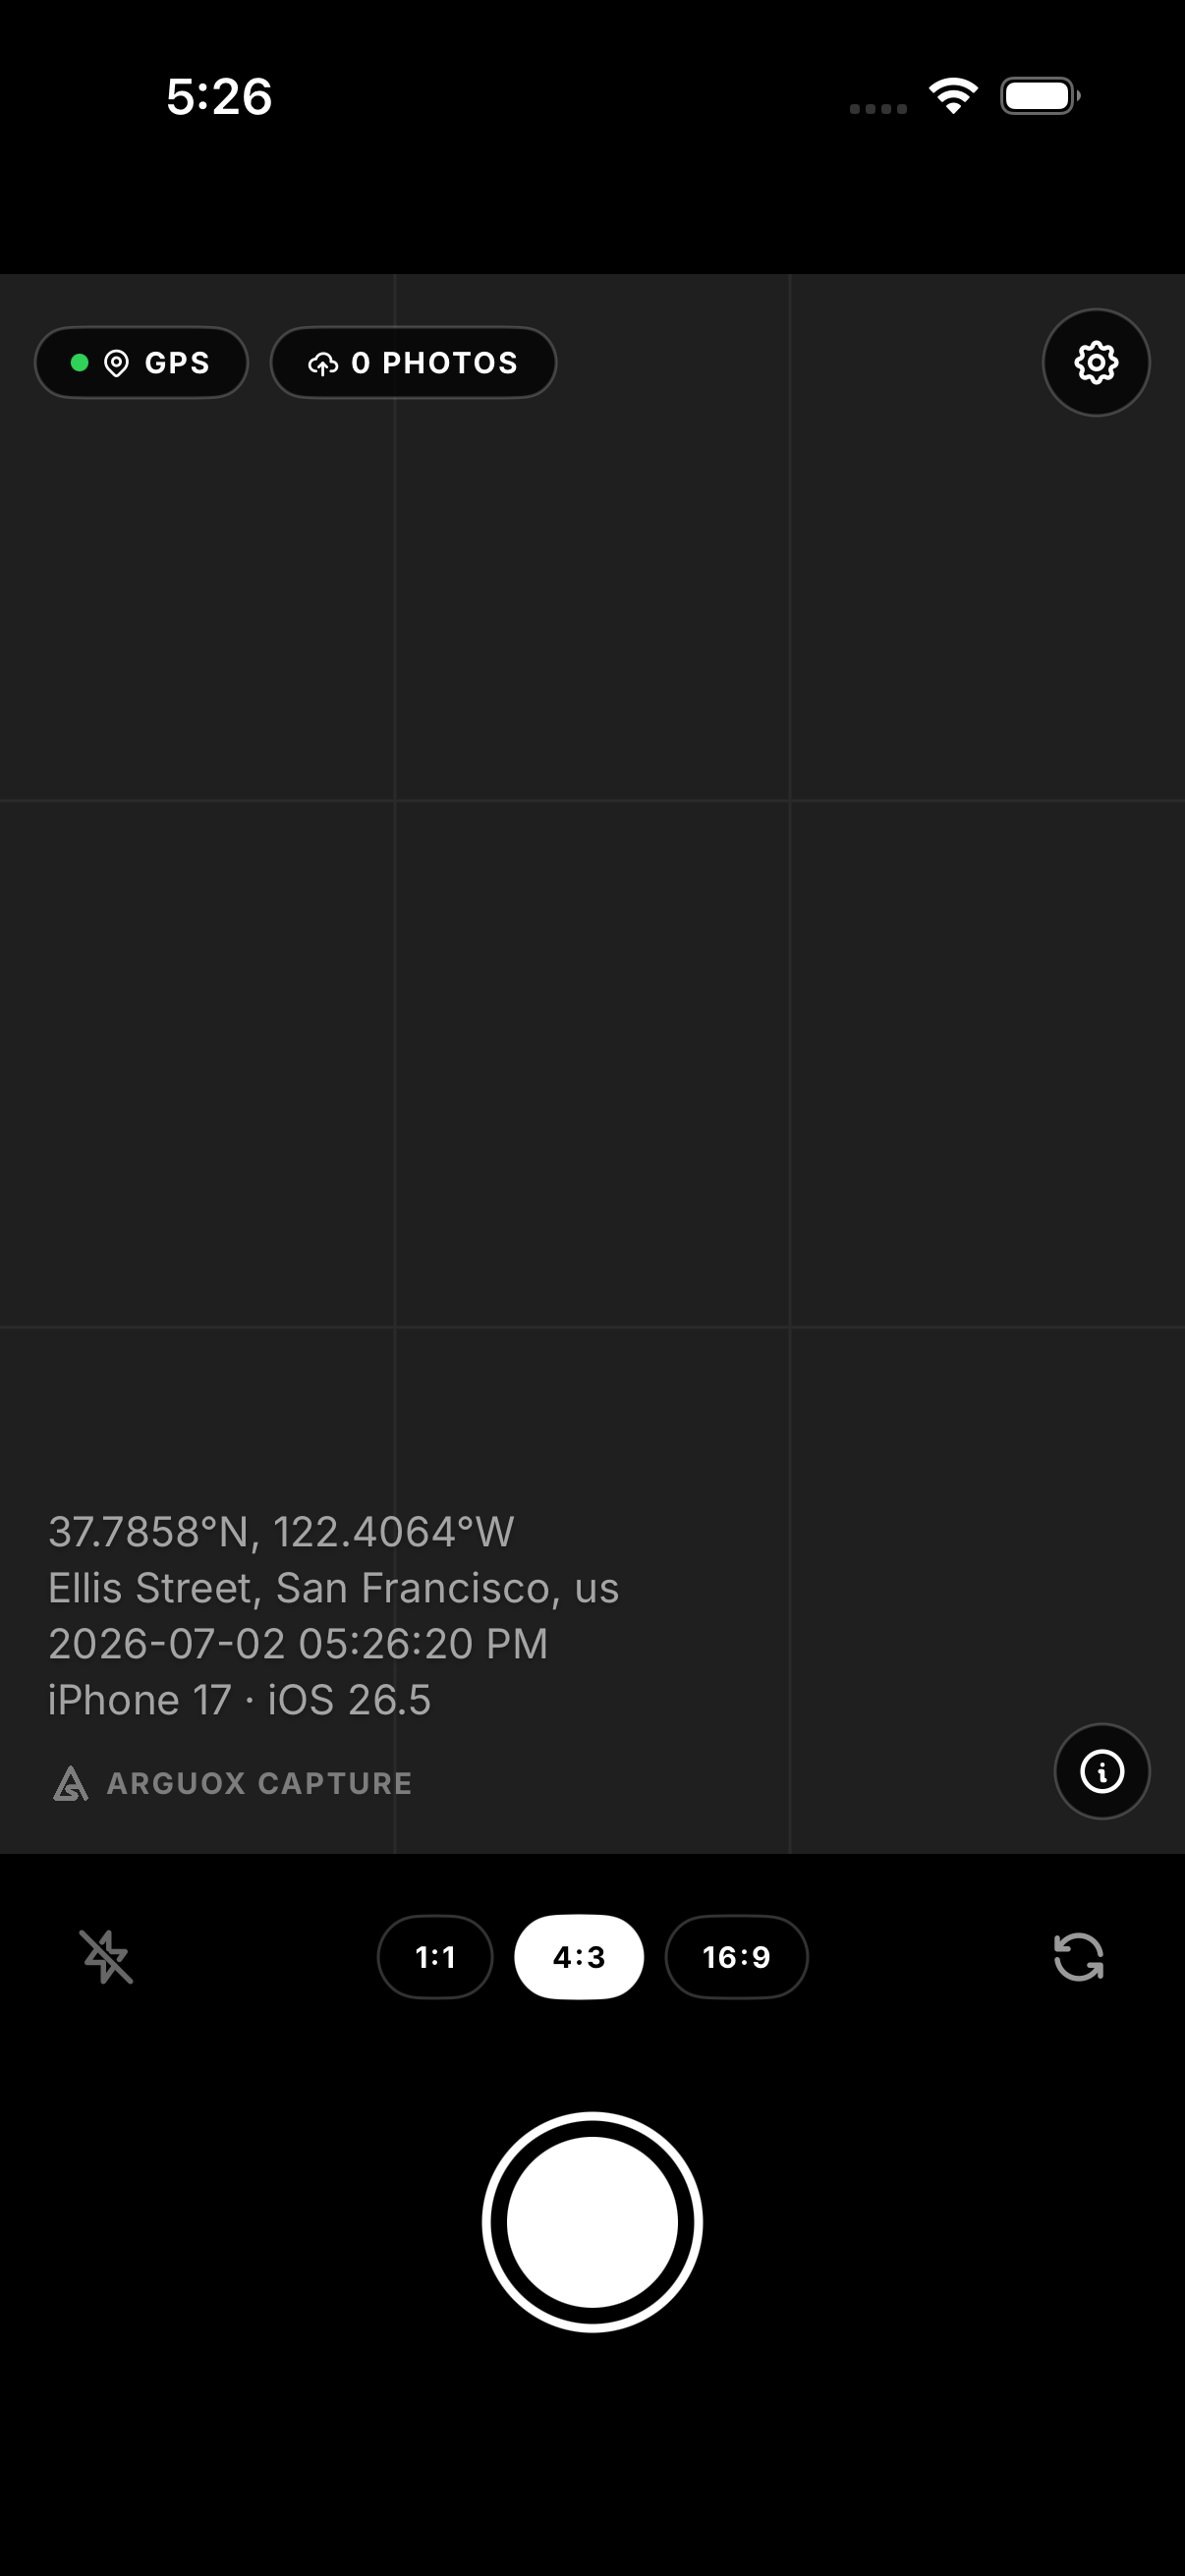
Camera Screen
GPS, timestamp, device info, and your own label lines — burned onto the photo at capture.
By default there's a single shutter button (Capture). Switch to dual mode in Settings for separate IN / OUT buttons instead — handy for attendance or delivery confirmation, each posting to its own endpoint.
03 — Single vs. Dual Mode
One button, or an IN / OUT pair
Settings → API Config lets you pick a button mode. Single mode sends every capture as one action type. Dual mode swaps the shutter for two buttons — IN logs an arrival, OUT logs a departure — and you can point each one at a different API endpoint.
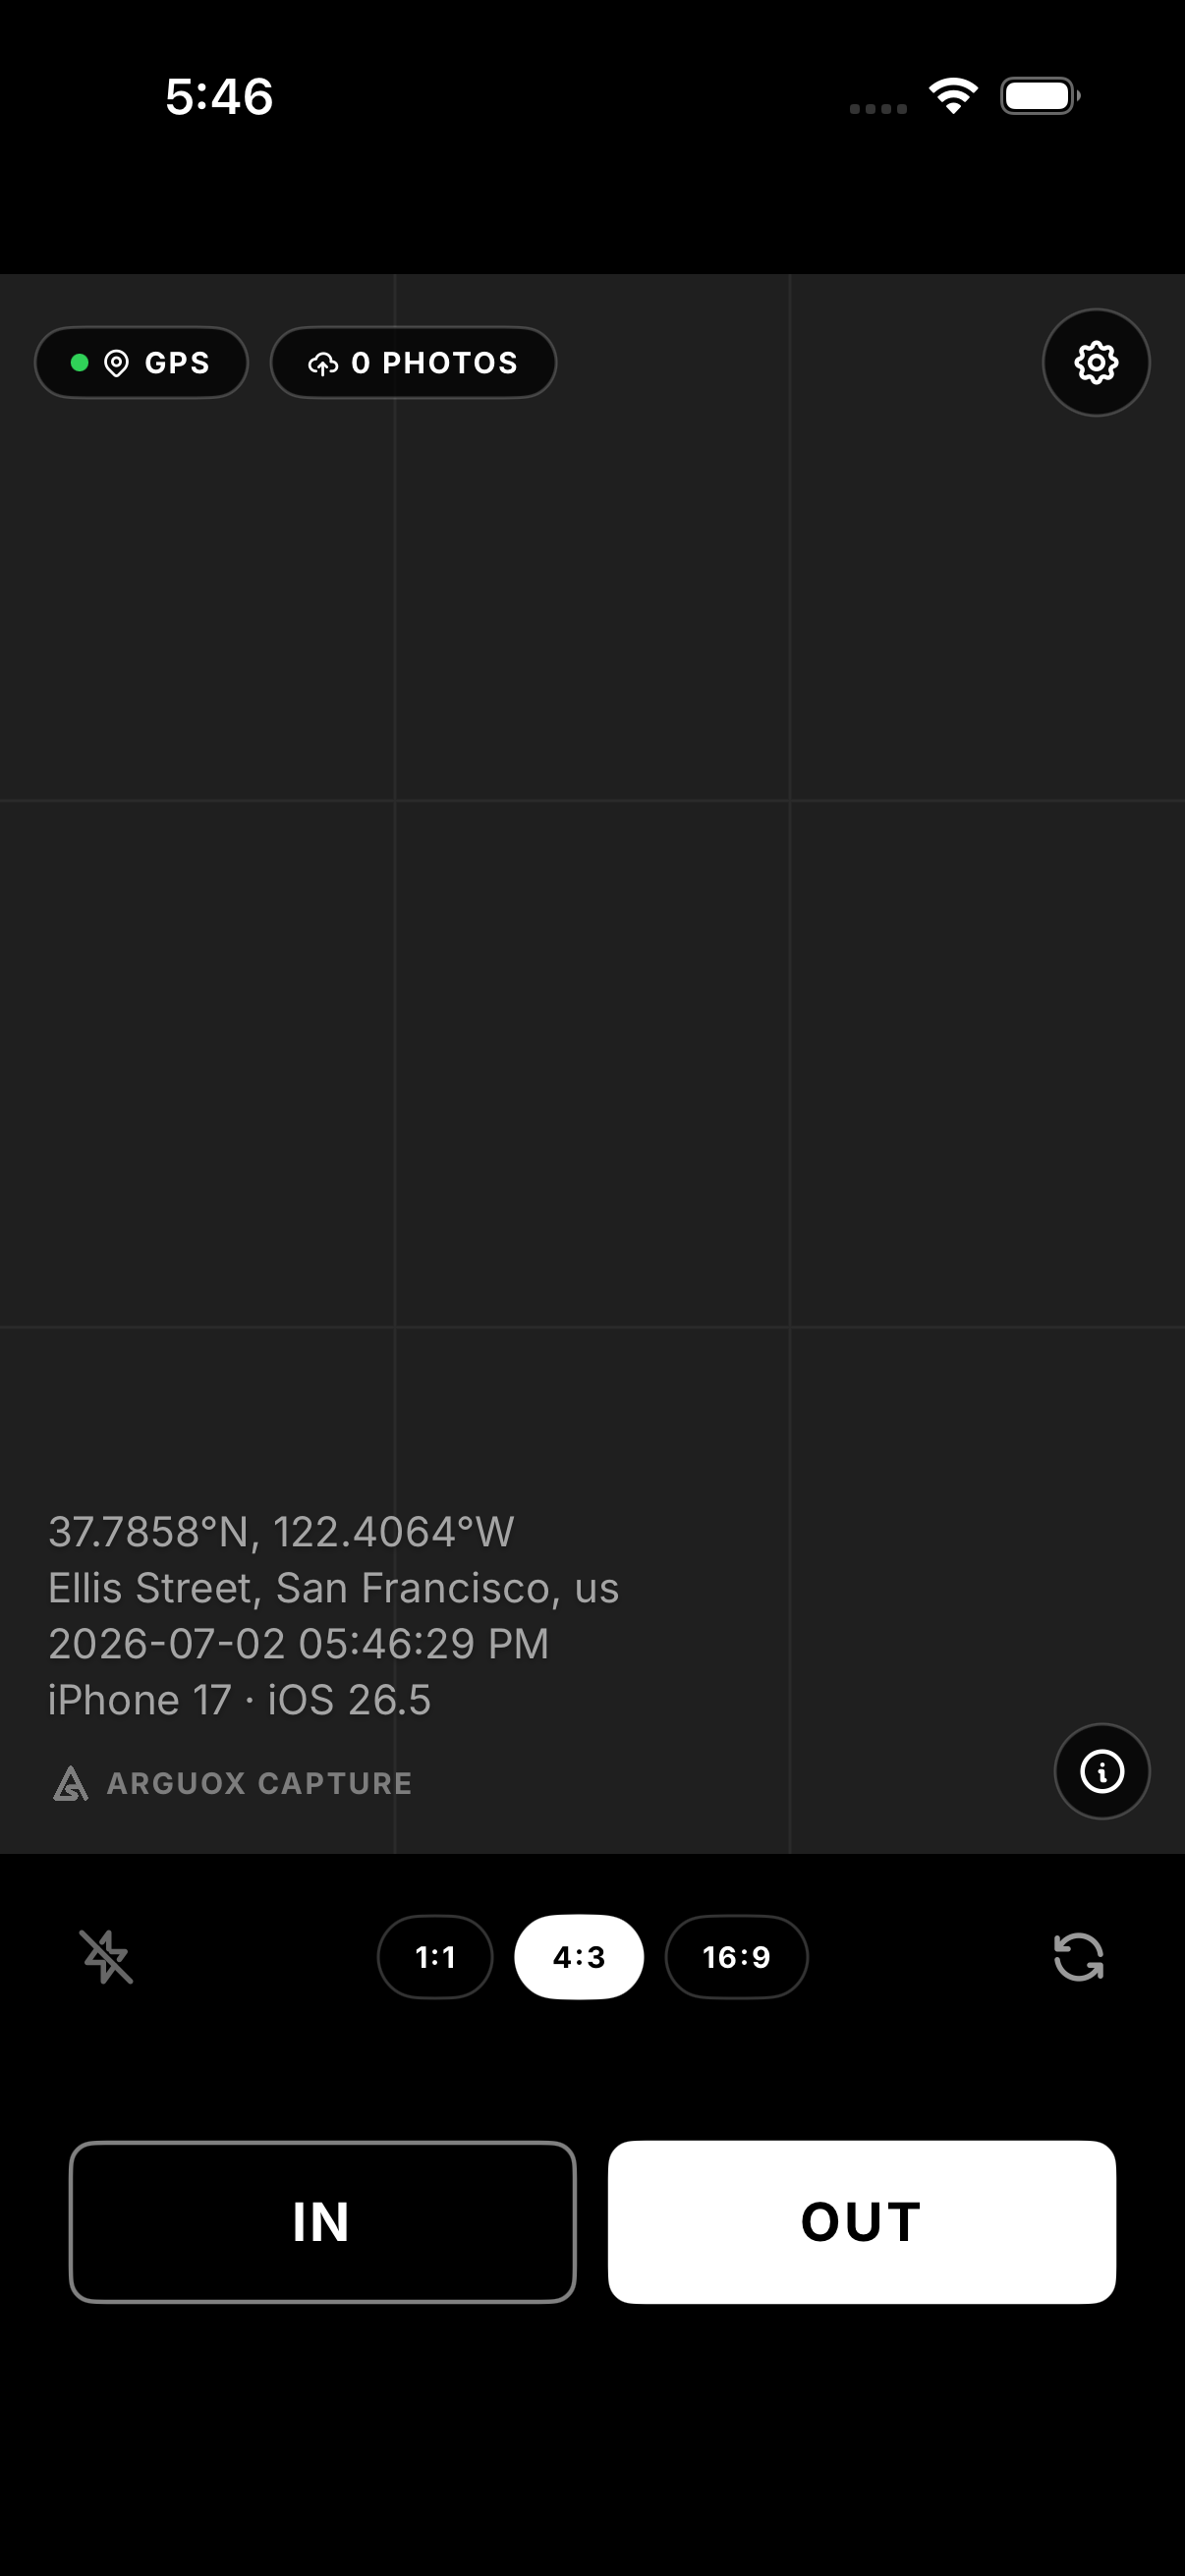
IN / OUT Mode
Each tap carries full metadata — GPS, timestamp, device info, and your custom labels.
04 — Overlay & Branding
Position, size, opacity, and your logo
Settings → Overlay controls where the metadata text sits (any of the four corners), plus a font size slider and an opacity slider that applies to the whole overlay. Settings → Logo lets you upload a PNG logo (checked against its actual file header, not just the extension) at a resizable 10–100% scale — it's automatically pinned to the corner opposite your metadata text so the two never collide.
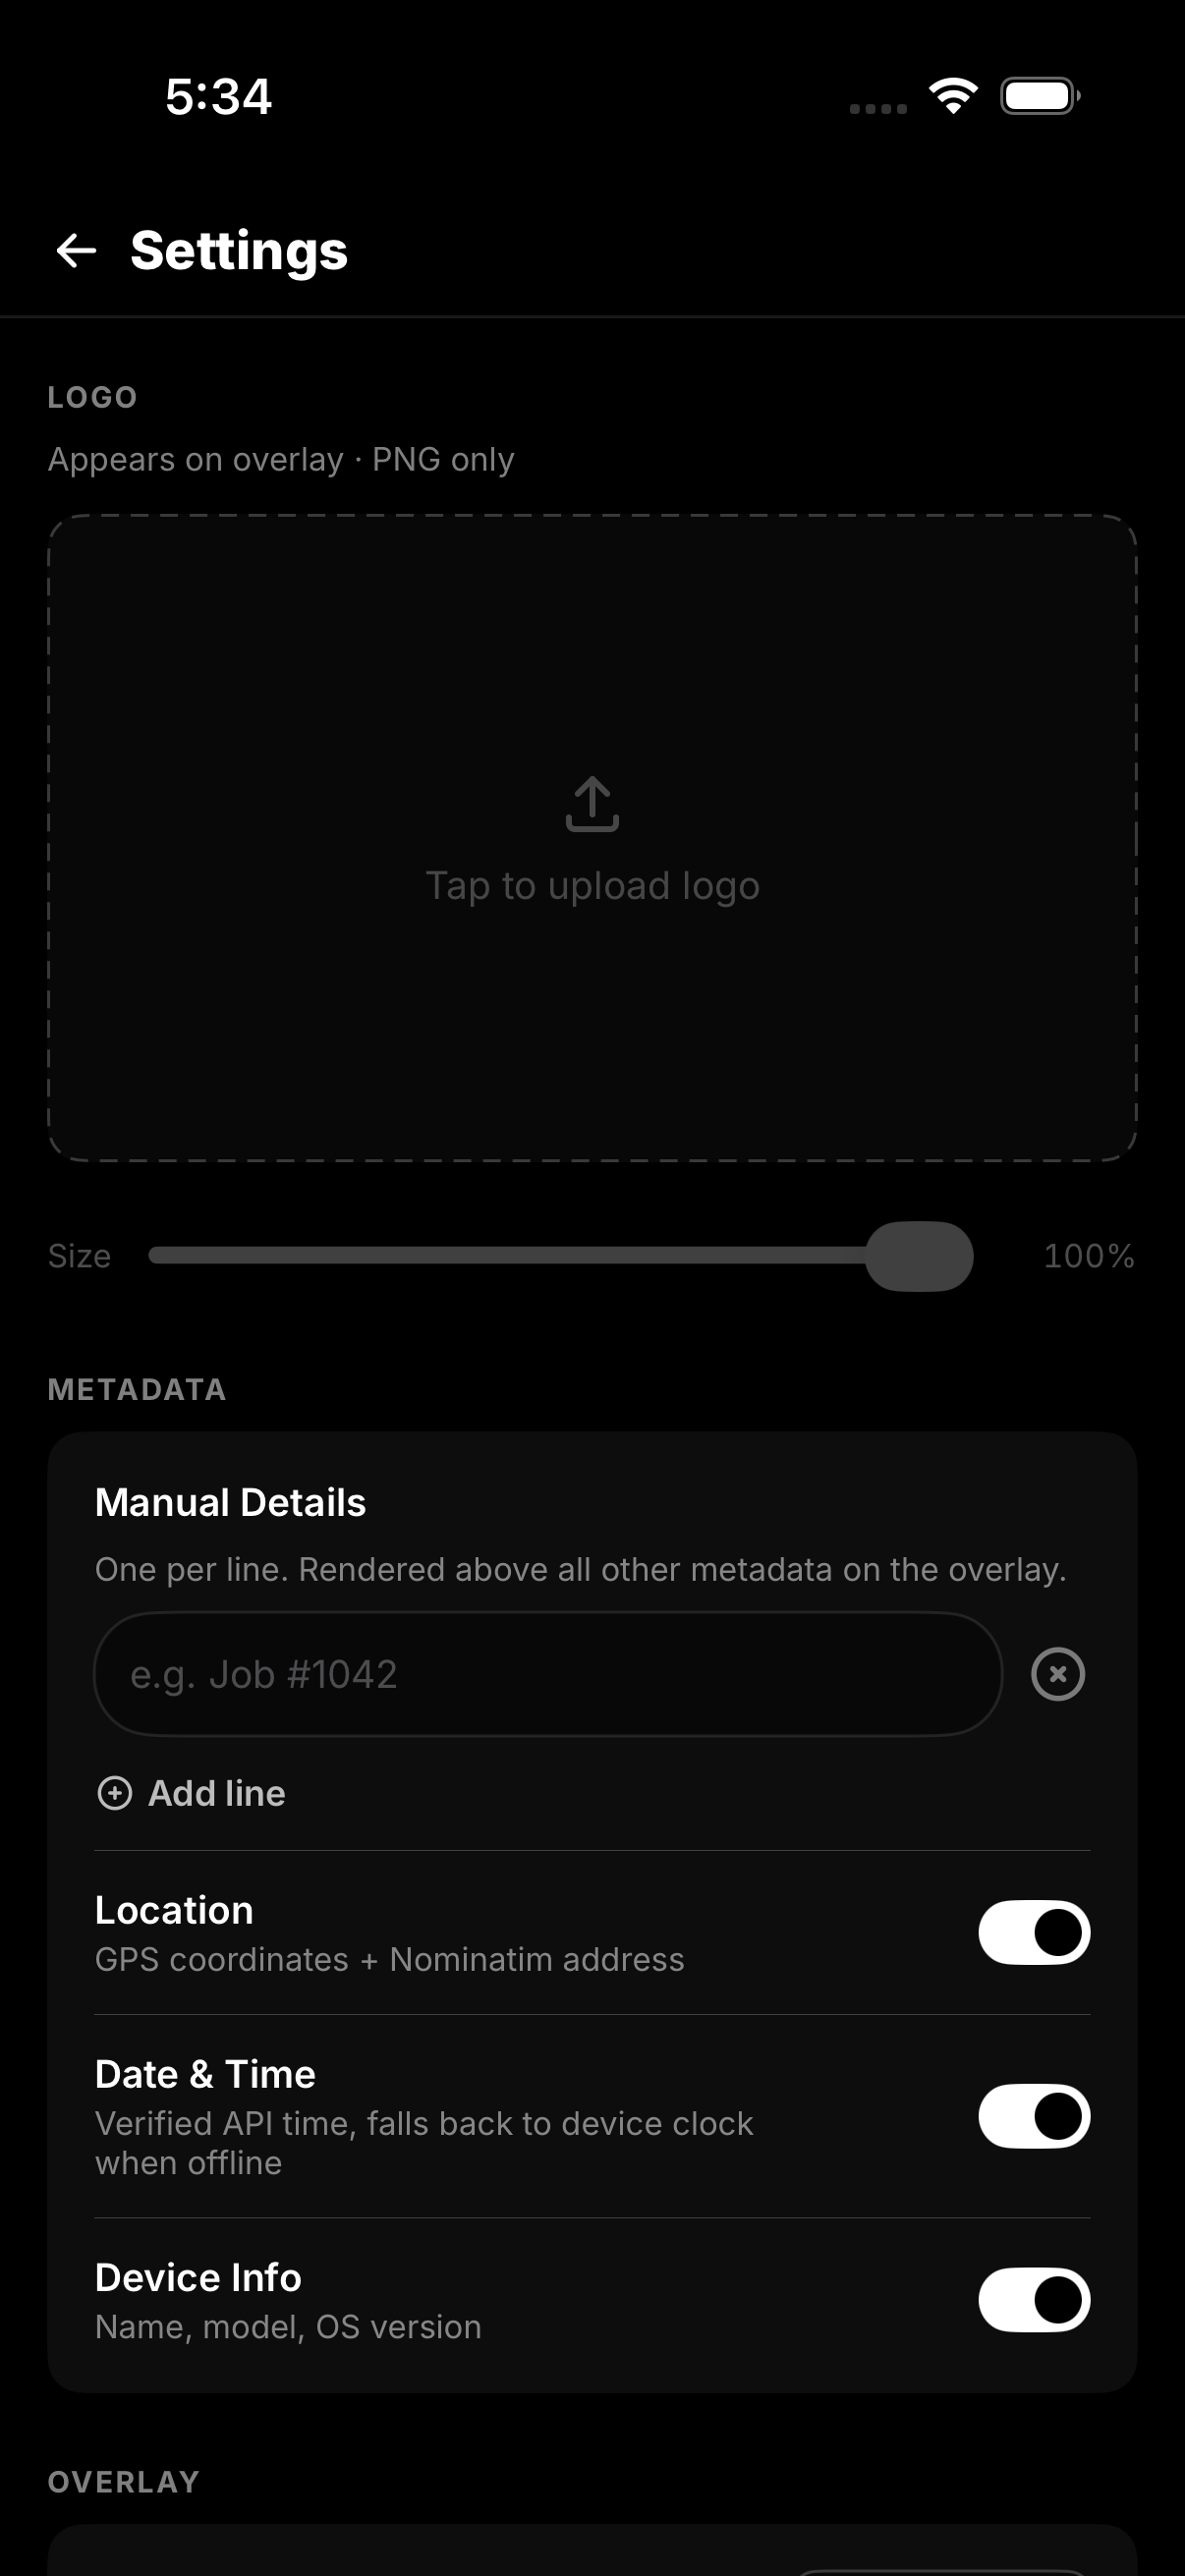
Logo & Metadata
Add custom label lines (job number, supervisor, site name) above the rest of the overlay.
You can also toggle Location, Date & Time, and Device Info on or off individually — anything you turn off simply won't print onto the photo.
05 — API & Upload Queue
Point it at an endpoint, then forget about it
Settings → API Config is where you paste your HTTPS endpoint(s) — your own server, a webhook, or a free Google Apps Script (which can auto-save the photo to Drive and log a row to Sheets, no server required). Turn on Auto-upload and every capture posts automatically; failed items retry on their own once you're back online.
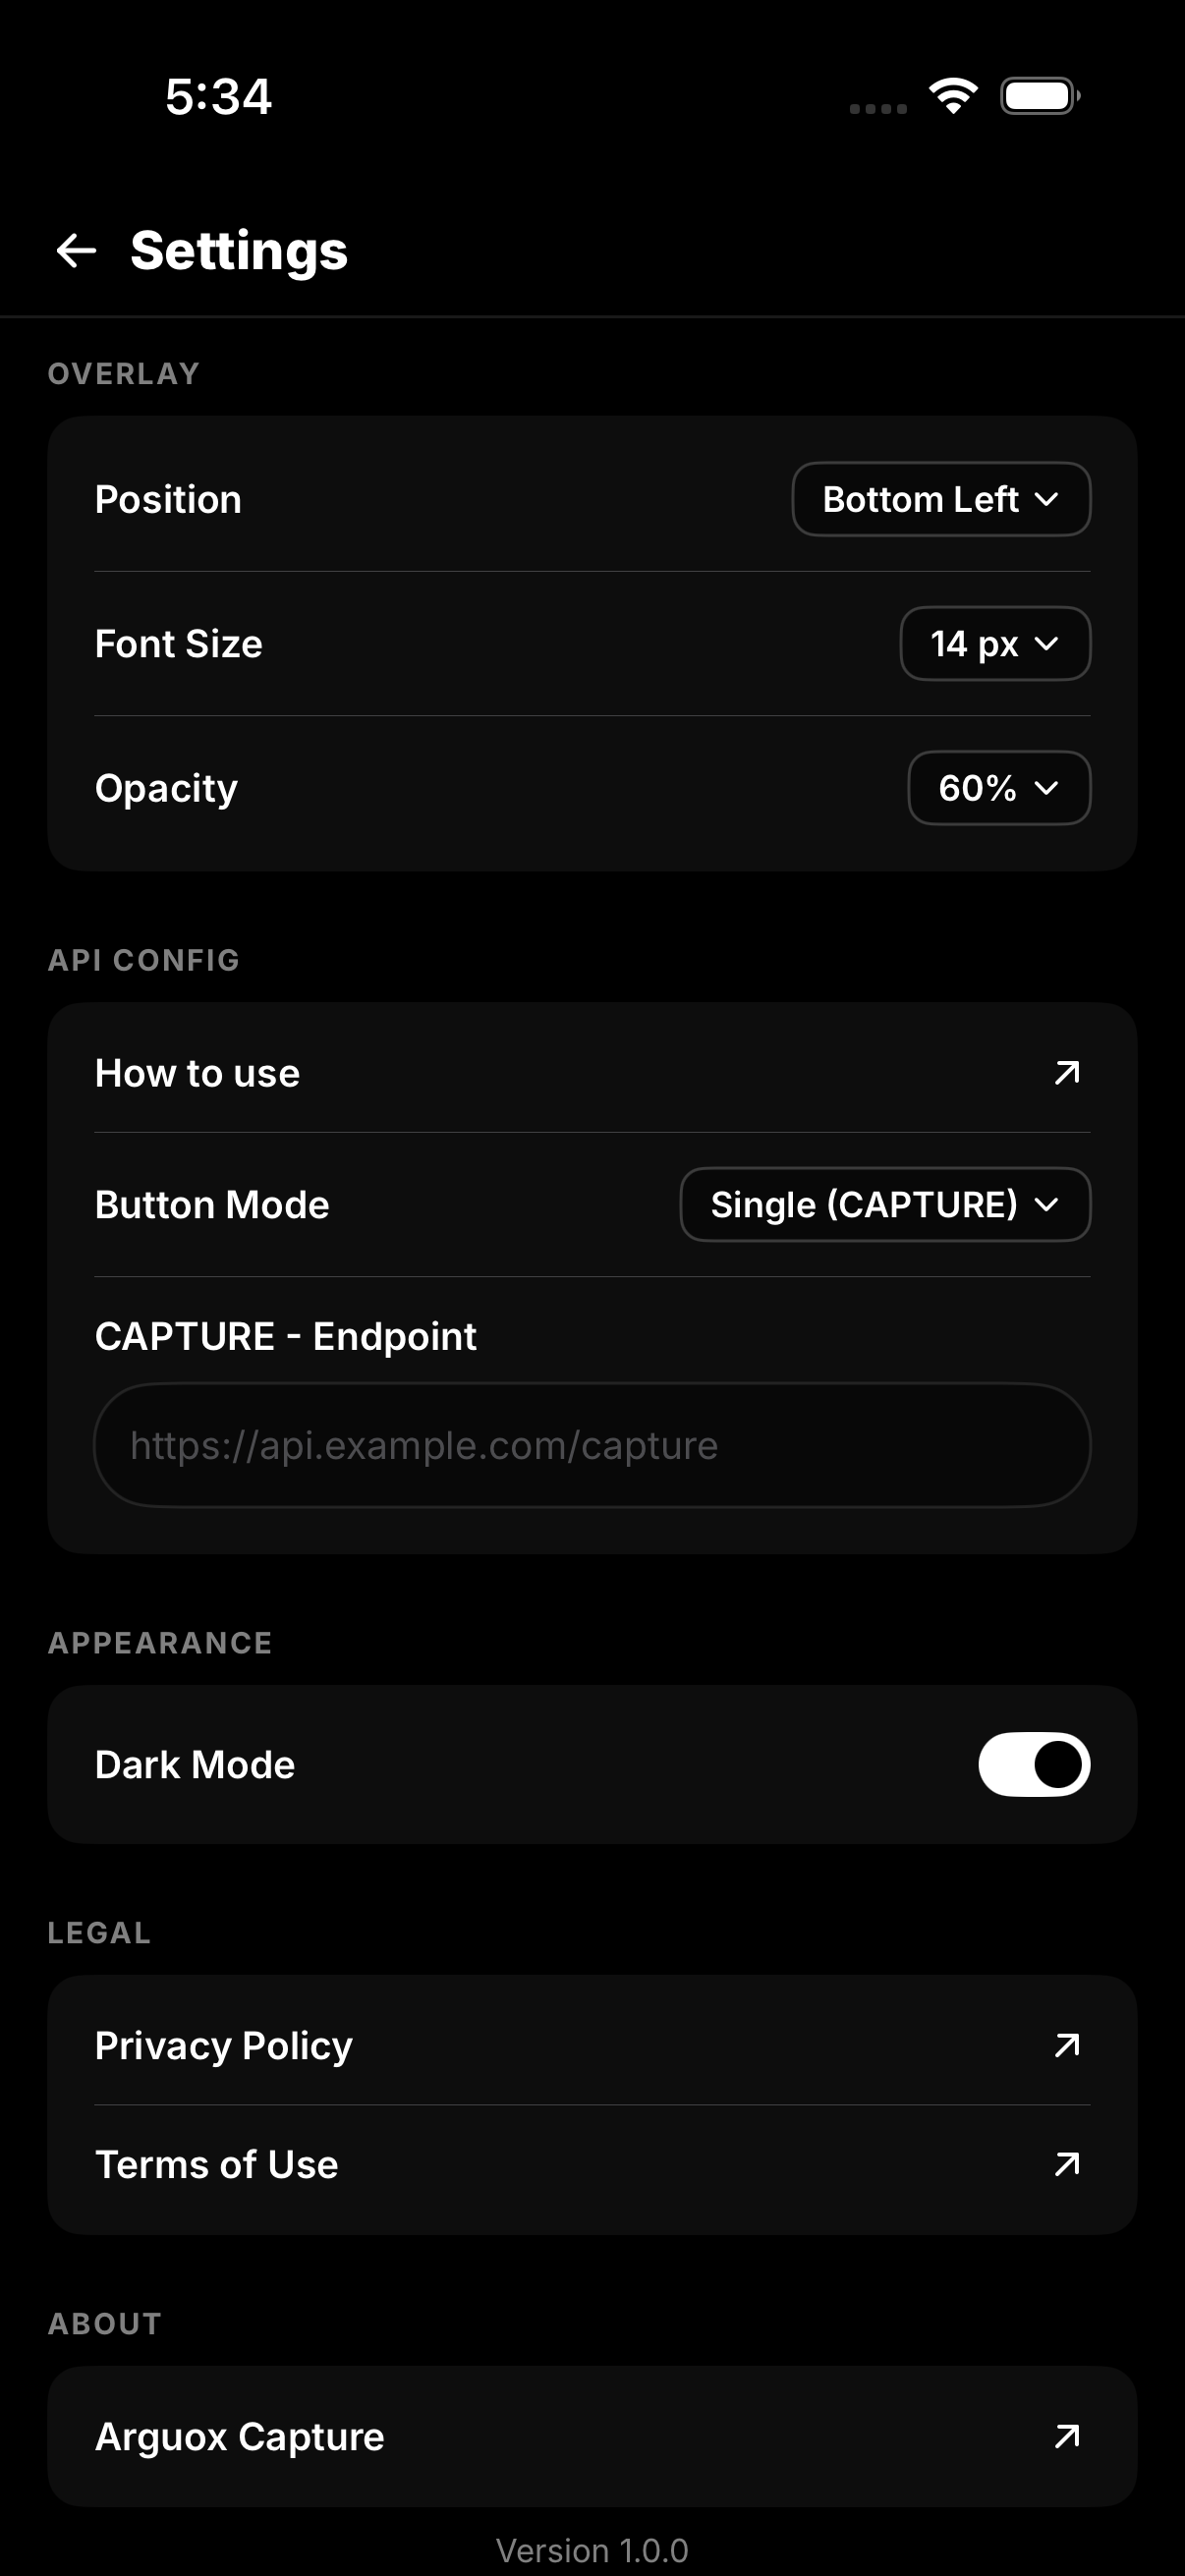
Overlay & API
JSON payload includes action, timestamp, GPS, address, device info, and the image itself.
The QUEUE pill on the viewfinder
- Shows your pending + failed upload count at a glance
- Tap it to open the full queue — filename, date, action type, and status per item
- "Retry Failed" retries every failed item at once; per-item retry buttons handle one at a time
- "Clear Uploaded" wipes successful history without touching pending or failed items
06 — Working Offline
Capture always works. Uploading waits for a connection.
Photo capture and the local gallery save always succeed, online or not. When you're offline at capture time, GPS and the reverse-geocoded address are simply left off the overlay and payload, and the device clock is used for the timestamp instead. The API post itself is queued and sent automatically the moment you reconnect.
The free, ad-supported tier does need a connection to load its ad — going offline without purchasing shows a "no internet" screen until you reconnect. The one-time Remove Ads purchase lifts that requirement entirely, so the whole app runs fully offline from then on.
07 — Remove Ads
One purchase, every device
Remove Ads is a one-time, non-consumable purchase via Google Play (Android) or the App Store (iOS), available from Settings.
- Purchase: Settings → Remove Ads → confirm via Play / App Store
- Restore on a new device: Settings → Restore Purchase
- Refund: handled by Google Play or Apple — Arguox doesn't process payments directly
- Once purchased, ads disappear and the connectivity gate lifts immediately — every capture and overlay feature was already unlocked
Still stuck?
Email us at arguox.support@juanlobby.com. Please include your device model, OS version, app version (Settings → About), and a short description of what you're trying to do.